
Your Complete Guide to Pre- and Post-Treatment Care
If you’re preparing for microneedling and looking for a complete roadmap, you’re in the right place. Most guides only offer fragmented tips — but true results depend on following a full microneedling pre and post care routine. Proper preparation and structured aftercare are essential for boosting collagen production, reducing irritation, and achieving smoother, firmer skin.
This comprehensive guide walks you through the full process, from two weeks before your appointment to four weeks after, so you know exactly what to expect at every stage.
The Pre-Treatment Phase (2 Weeks Before): Your Microneedling Pre-Care Routine
Think of your skin as a canvas — the more prepared it is, the better microneedling results will be. Your microneedling pre and post care routine starts here.
What to Avoid (5–7 Days Before Treatment):
- Retinoids such as tretinoin or Retin-A
- Chemical exfoliants (AHA/BHA acids)
- Benzoyl peroxide
- Waxing, peels, or laser treatments
- Prolonged sun exposure
What to Add:
Support your healing with nutrients like Vitamin C, Zinc, and adequate hydration. Clinics rarely mention nutrition, but it dramatically improves inflammation control and collagen formation.
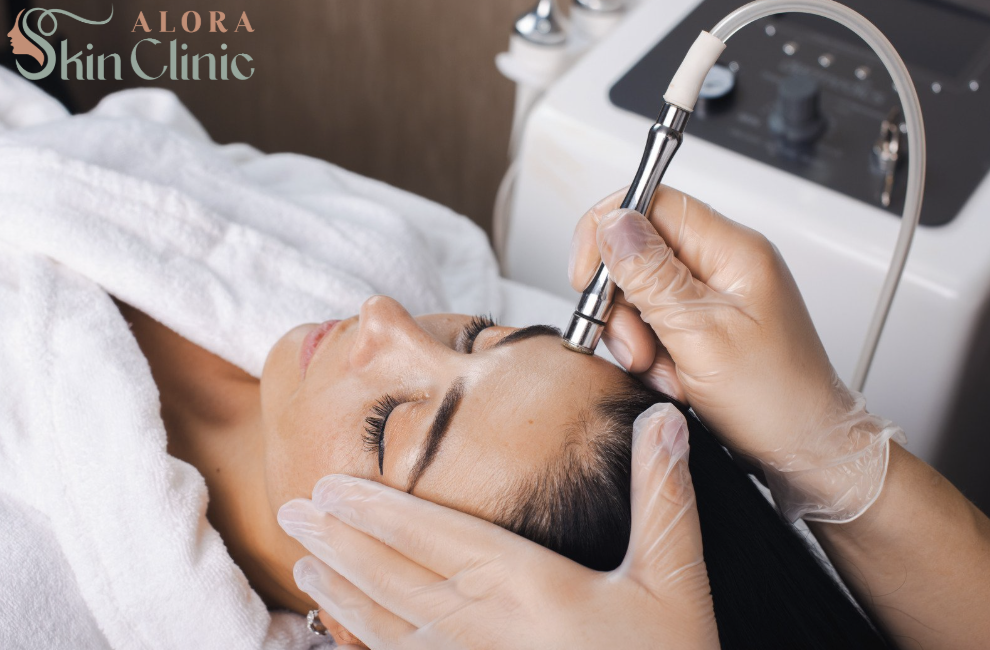
Day of Treatment: What to Do
On treatment day, simplicity matters.
- Arrive with a clean, makeup-free face
- Avoid lotions, oils, or SPF
- Wear comfortable clothing
- Trust the process — your skin therapist will guide you
Microneedling creates controlled micro-channels to activate your body’s natural healing response. By following proper pre-care, you’ve already set the stage for success.
Post-Procedure Timeline: Your Microneedling Post-Care Routine (Day 1 – Week 4)
Your post-care routine determines 70% of your final result. Follow this day-by-day guide for safe and effective healing.
Day 1–3: The Critical Healing Window
Expect mild redness or a sunburn-like feeling. This is normal.
Do:
- Use a gentle, fragrance-free cleanser
- Apply hydrating serums (hyaluronic acid recommended)
- Keep hands off your face
- Use only products approved by your provider
Avoid:
- Actives (Vitamin C, retinoids, acids)
- Makeup
- Sweating or gym workouts
- Hot showers, saunas, steam
- Sun exposure
Day 4–7: The Renewal Phase
Light peeling or flaking may begin.
Important reminders:
- Do NOT pick or scrub
- Introduce a gentle moisturizer
- Start using mineral sunscreen daily
- Continue avoiding strong actives
Week 2–4: Collagen Remodeling Phase
Your skin may look healed, but deeper layers are actively regenerating. This is when long-term transformation begins.
You can gradually restart your normal routine, reintroducing retinoids and exfoliants slowly. Final results often appear around week four and continue improving for up to three months.
Product Recommendations: Your Post-Microneedling Toolkit
To support hydration and skin repair, choose products with simple, calming ingredients.
Recommended Categories:
- Gentle cleanser
- Pure hyaluronic acid serum
- Non-comedogenic moisturizer
- Mineral SPF
- Barrier-repair cream
For ingredient safety verification, review the American Academy of Dermatology guidelines
Frequently Asked Questions
How much redness is normal?
Redness for 24–48 hours is expected. If swelling increases after 72 hours, contact your provider.
When can I wear makeup?
Wait 48–72 hours. Applying makeup too early may cause irritation or breakouts.
Can I exercise after microneedling?
Avoid workouts, steam rooms, and sweating for at least 48 hours to prevent bacteria from entering the micro-channels.
What are signs of complications?
Contact your provider if you notice pus, excessive swelling, worsening pain, or fever.
Ready for Your Best Skin Yet?
Your microneedling results depend on both clinical expertise and consistent microneedling pre and post care at home. Following this guide helps you maximize collagen production, support healing, and protect your skin investment.
Book your microneedling consultation at Alora Skin Clinic in Scarborough to receive a personalized plan tailored to your skin type and goals.